
Updated February 3, 2026
Hi! Thank you so much for buying a scarf marionette kit. When I first made my scarf marionette, I thought it was a little silly and too simple for what I wanted to do. As I explored and played with the scarf, I realized just how dreamlike it is, and how beautiful they can be to watch. It became a regular part of my show and people often say it is one of their favorites!
This puppet design is originally by ALBRECHT ROSER. I have made small adjustments to the construction method to make this very straightforward and easy for folks to do on their own!
If you need anything, run into issues or questions, please contact me at puppetpantsproductions@gmail.com
Step 1. Gather all Materials, you will need a hammer and a sewing needle.
Materials:
1X Head bead (the biggest one)
2X Hand bead (the smaller pair)
2X Foot Bead (the bigger pair)
2X Silk Scarf (24”x24”)
3X Little Nails
String
Control
Corks
Step 2. Look at your head.
Find placement of nails for head. I have drilled the holes for you. All you need to do is drive the nails into the holes. DO NOT hammer them all the way. Leave enough room between the bead and the head of the nail to tie some knots with your thread. We will get to the stringing part later. For now, just focus on nailing those 3 little nails in.
There’s also a small cork or two wedged into the head bead. Gently push that out with the wooden dowel of your controller. You will use this controller several times before stringing your puppet.
If you happen to miss the nail and nick the head bead, it could leave a mark. You can try to fix this by wetting your finger and then dabbing water onto the dent.
By the end of this step you should have 3 nails in the head bead. Good job!
Below is a viewpoint looking looking DIRECTLY down at the head bead, as if you are a bird flying high above. That little circle in the middle represents the hole that is drilled through the bead.

This third nail is the back of your puppet’s head. It is not the nose, or the face. It is the back of the head. Do not make your puppet with this third nail facing forward. It is the back of the head.
Below is a viewpoint looking looking STRAIGHT AT the back of the head bead, as if you are facing the back of the puppet. The little half circles on the North and South poles represent the hole that is drilled through the bead. Notice that there are 3 nails, as if there is an ear on either side, and the 3rd nail is the back of the head.
Yes, I am repeating that the third nail is the back of the head many times.

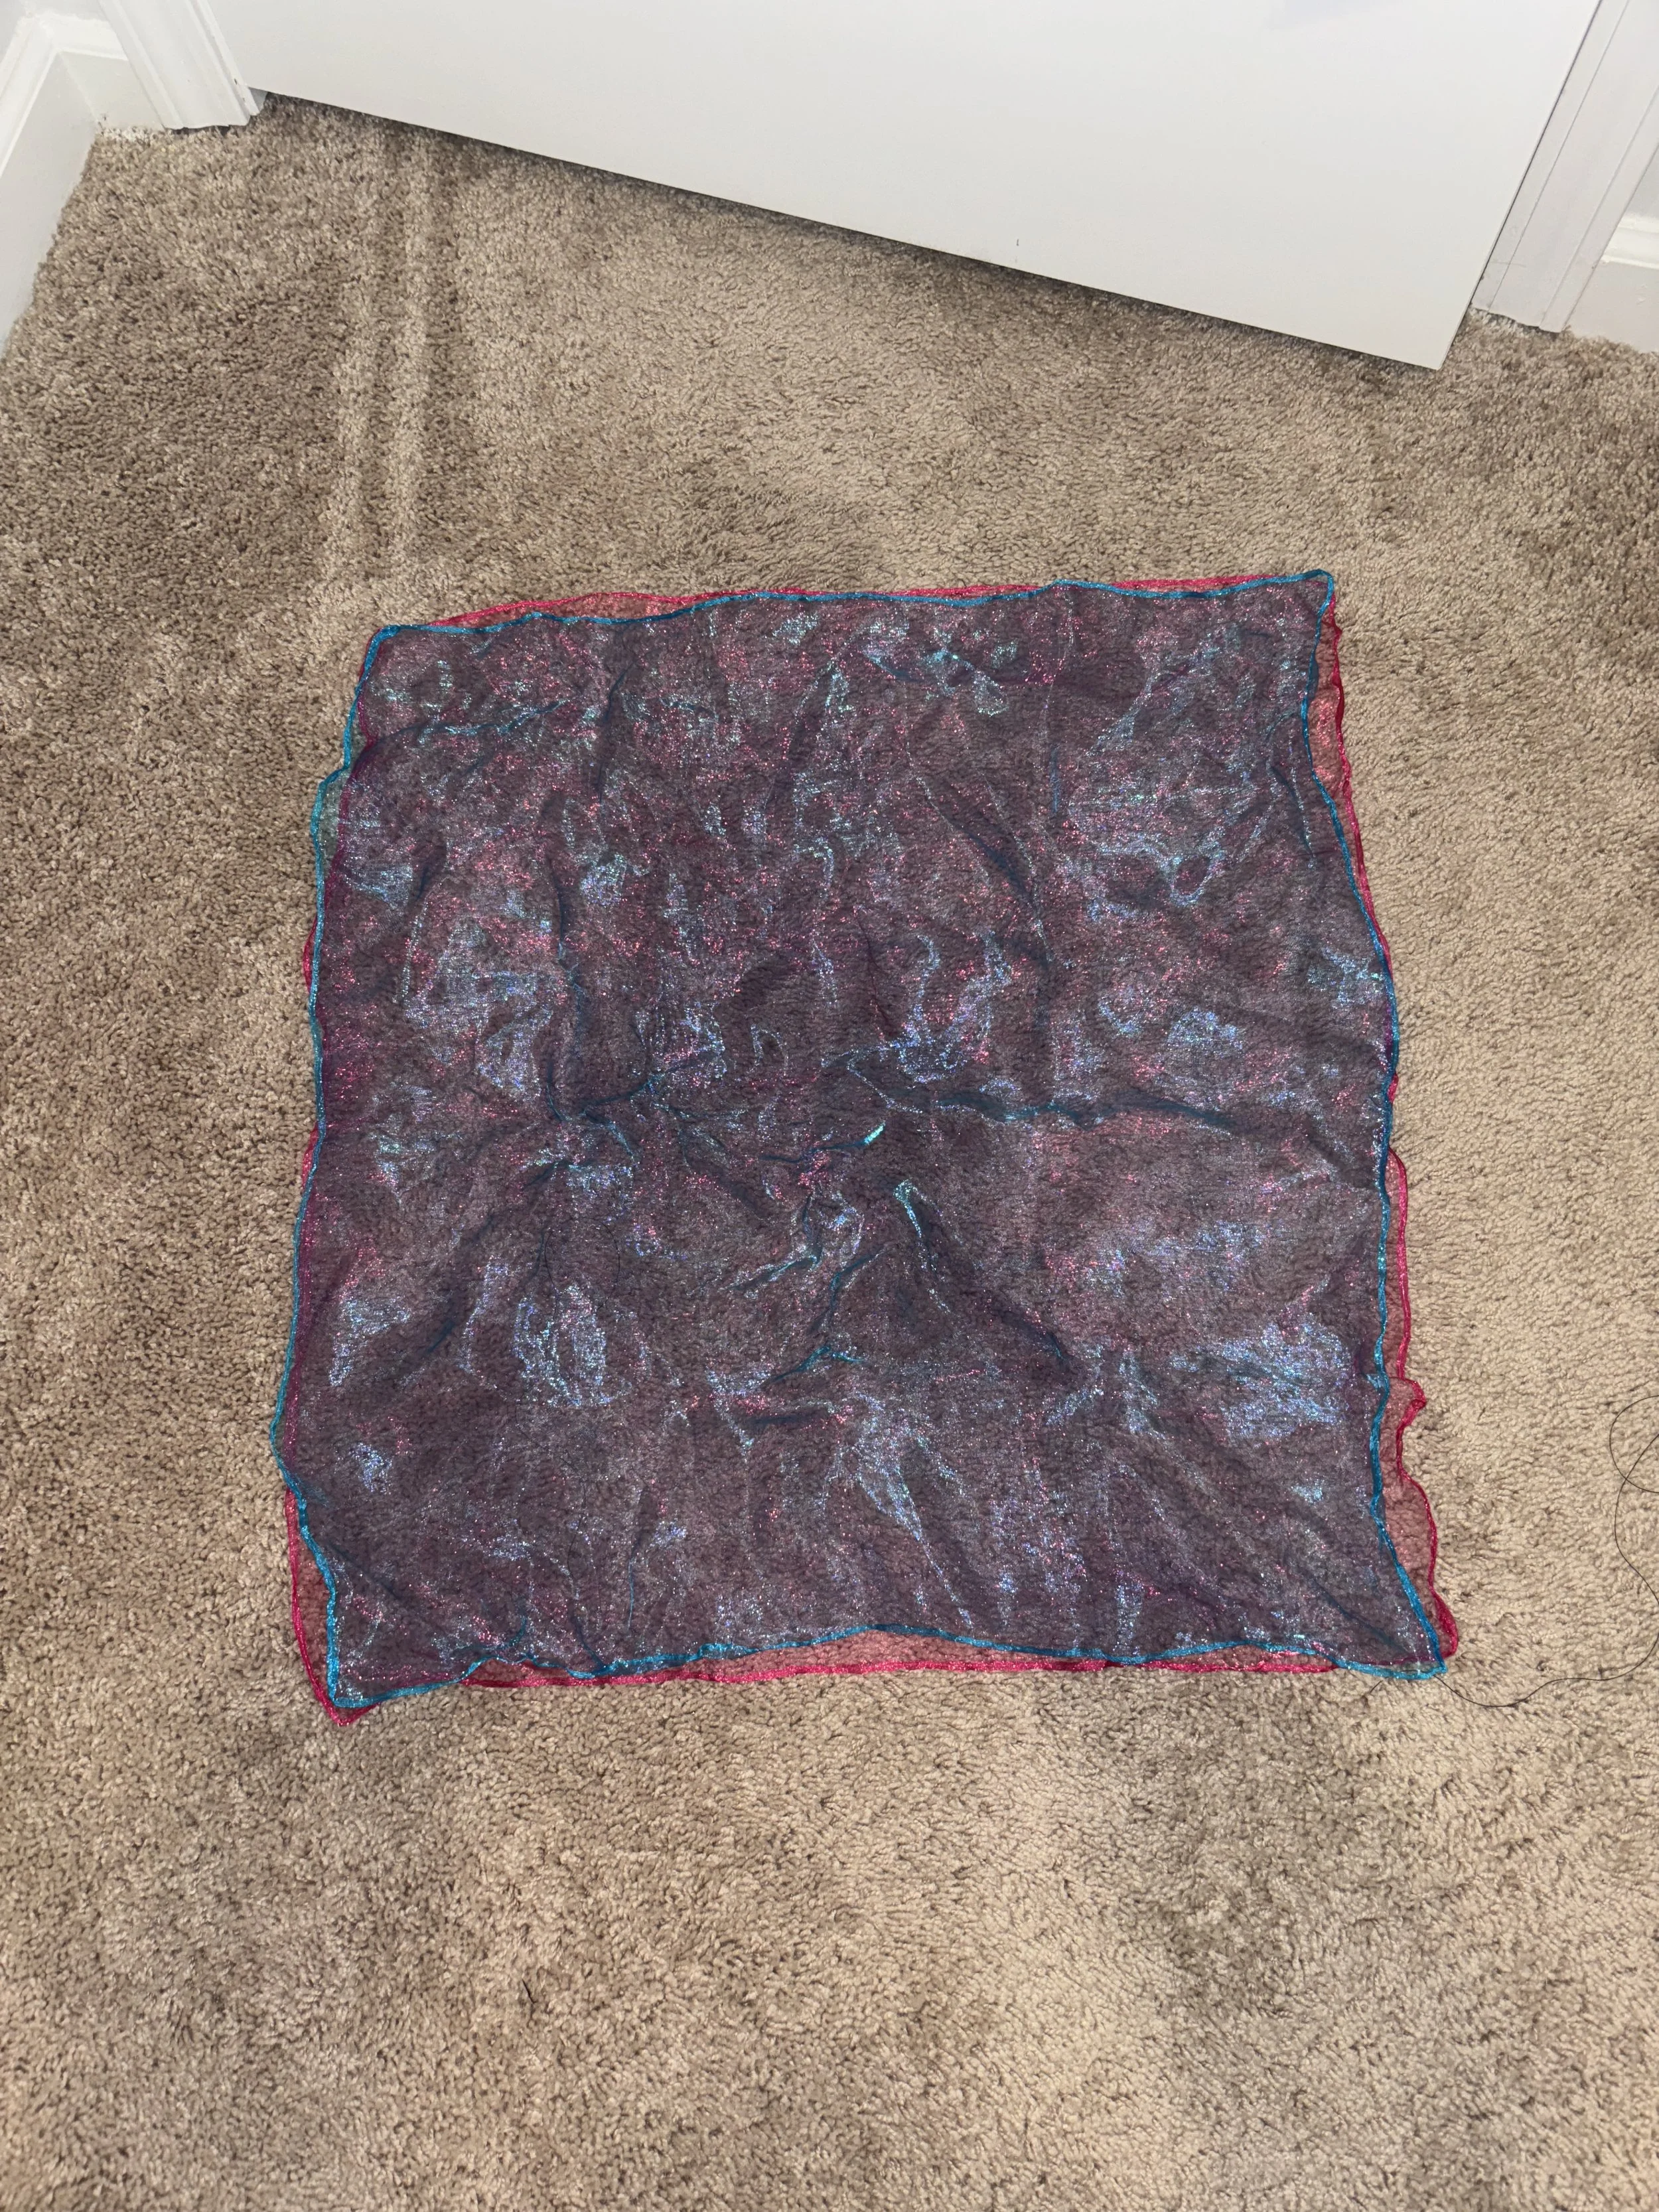
Step 3. Look at your scarves
There is a chance that your scarves need to be adjusted a little bit. They might be wrinkled. I recommend gently smoothing them out on a flat surface. The fabric is fragile. You may need to gently pull and adjust to get the corners of your layers to line up.
I have found that gently pulling the scarves with my fingers can sort of coax the fabric, straighten out edges and smooth the wrinkles. Try pinching the edge of the scarf and running your fingers along the edge a few times, you should be able to make small adjustments.
It is very likely that your 2 scarves will not match perfectly and that is OK! In fact, the scarf marionette in my show is made of 2 scarves that are not the exact same size. Think of these 2 colors as layers. When you wear a long sleeve under your coat, chances are that the sleeves of both articles of clothing are not laid perfectly on top of each other.
Look at your scarves again. Chances are that you have 2 colors. You will need to decide which color will be the “belly” of your puppet and which color will be the “back” of your puppet.
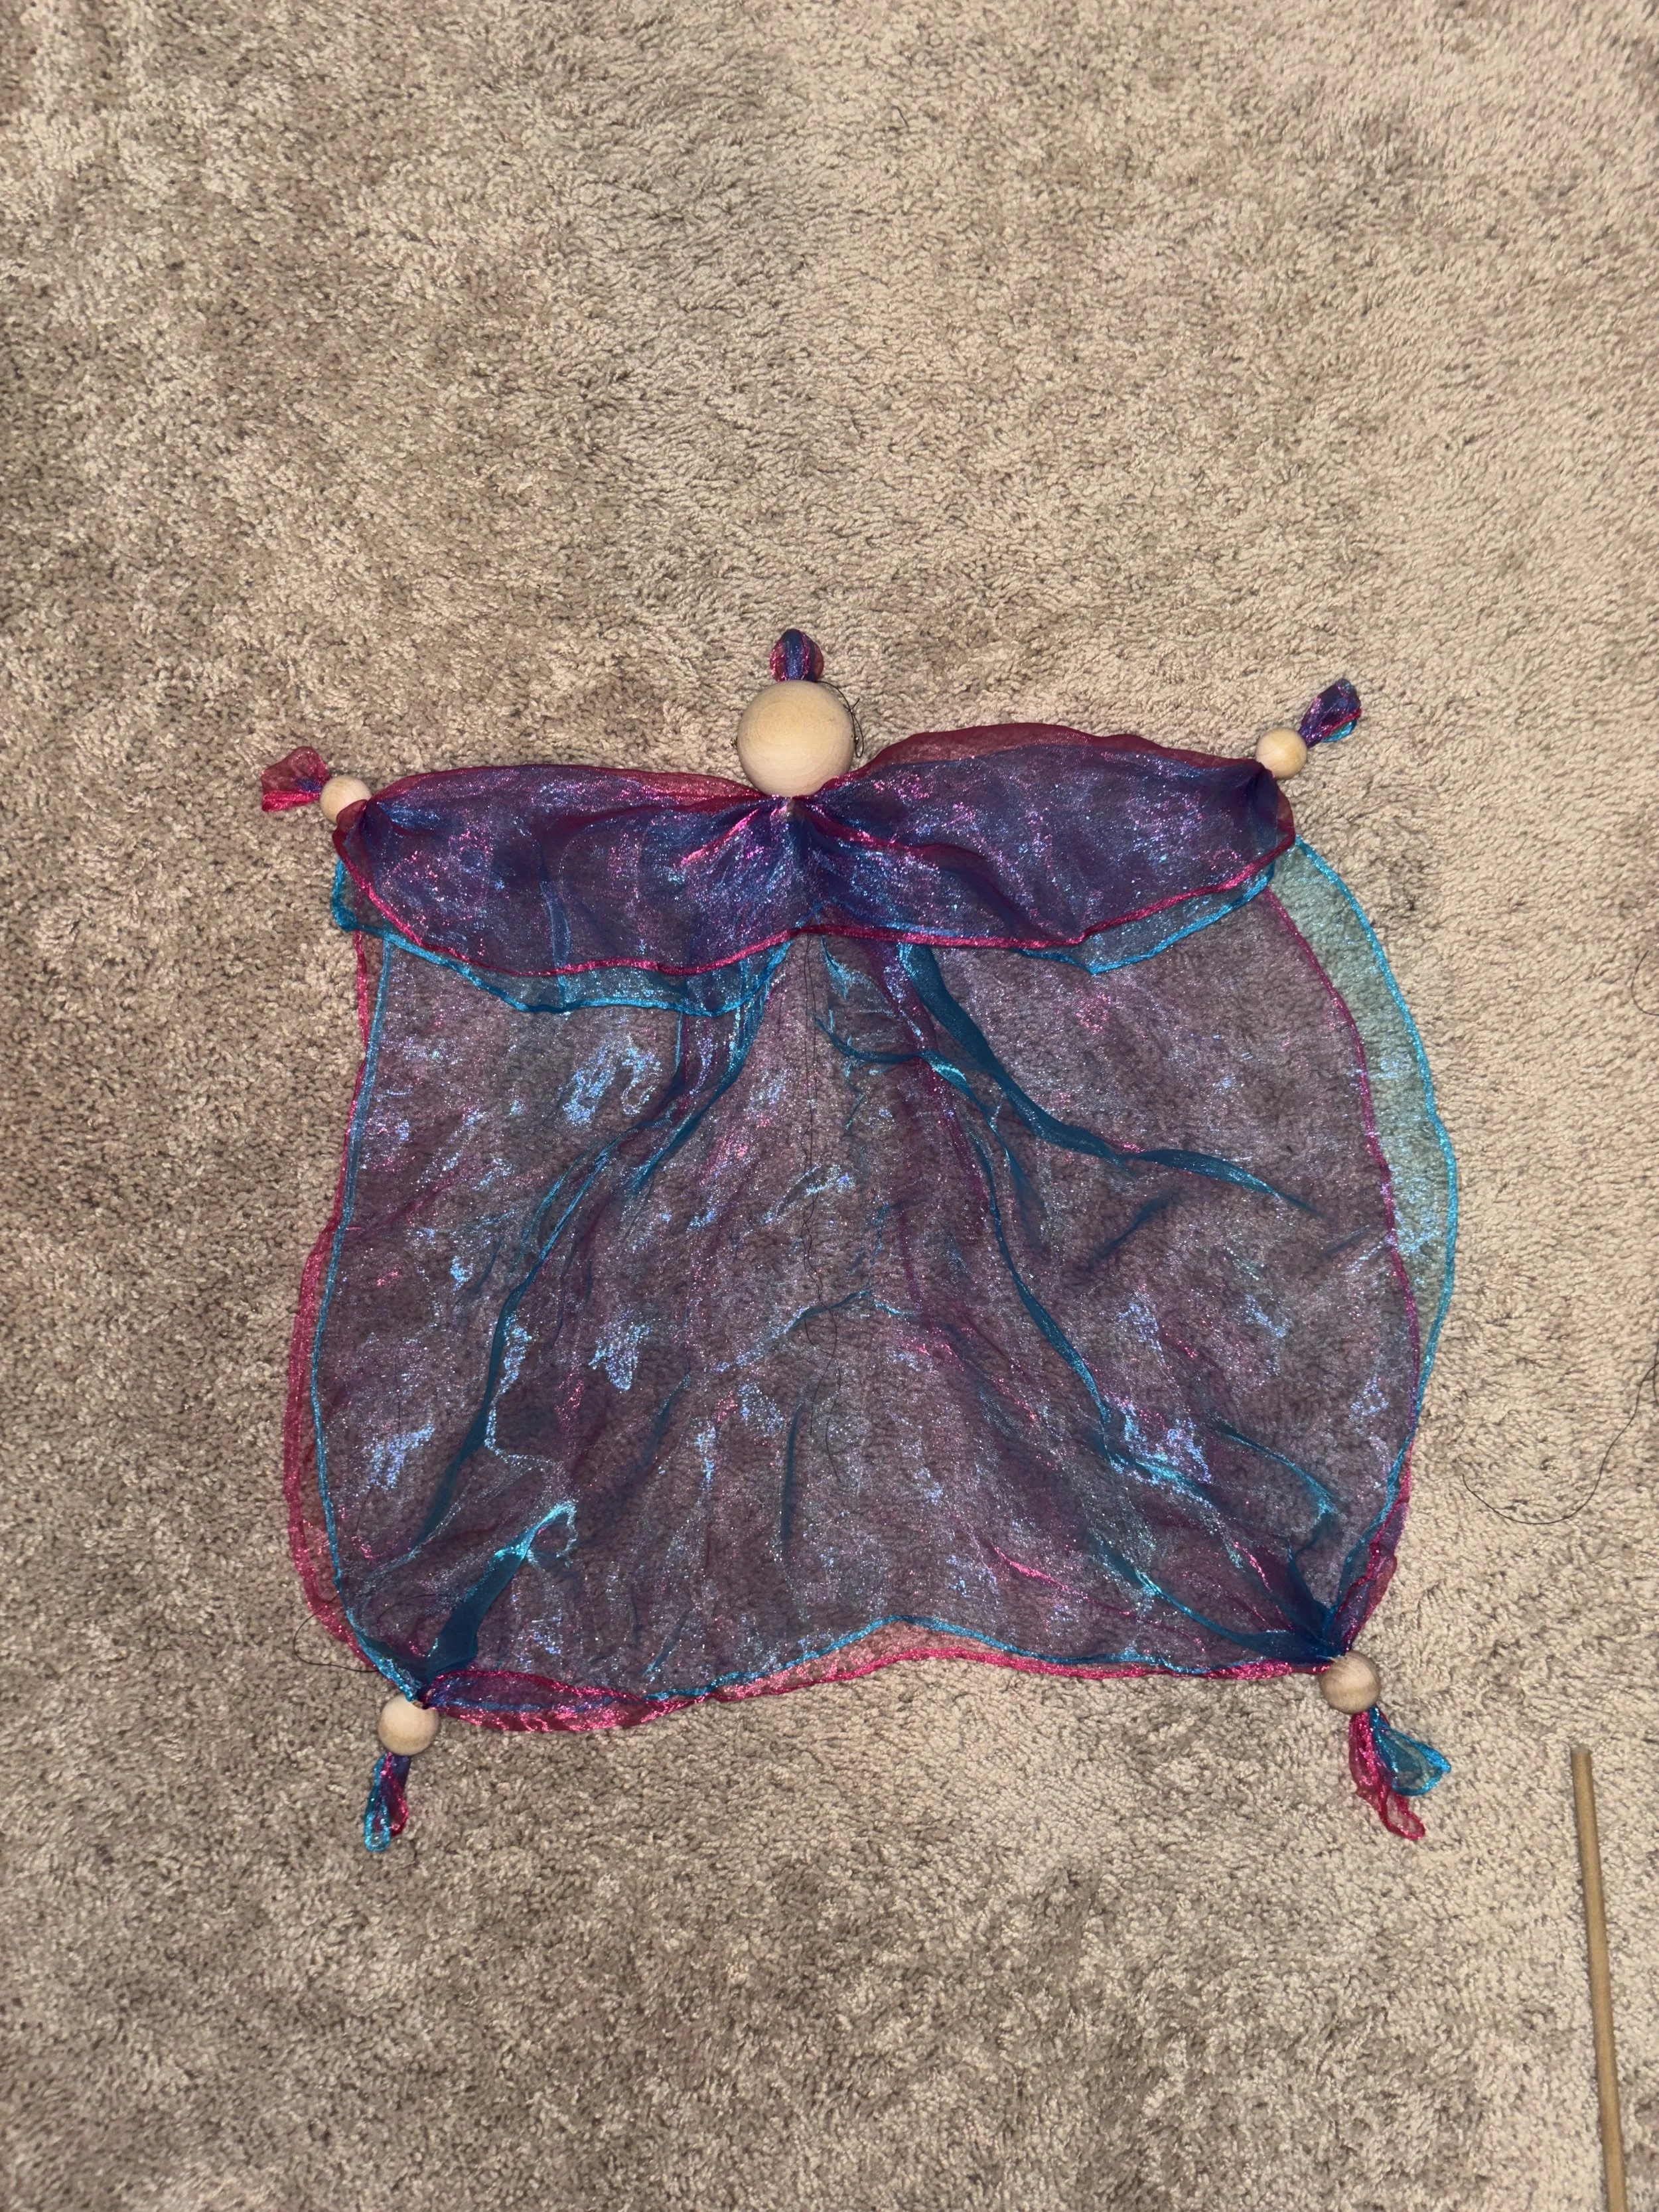
When you have chosen the color of your puppet’s back, lay that down flat. Then lay the color of the belly directly on top. Try to get the corners to line up as best as you can, but focus on laying the scarves flat and “centered” with each other rather than each corner perfectly on top of one another. Here we have a blue scarf on top of a pink scarf.
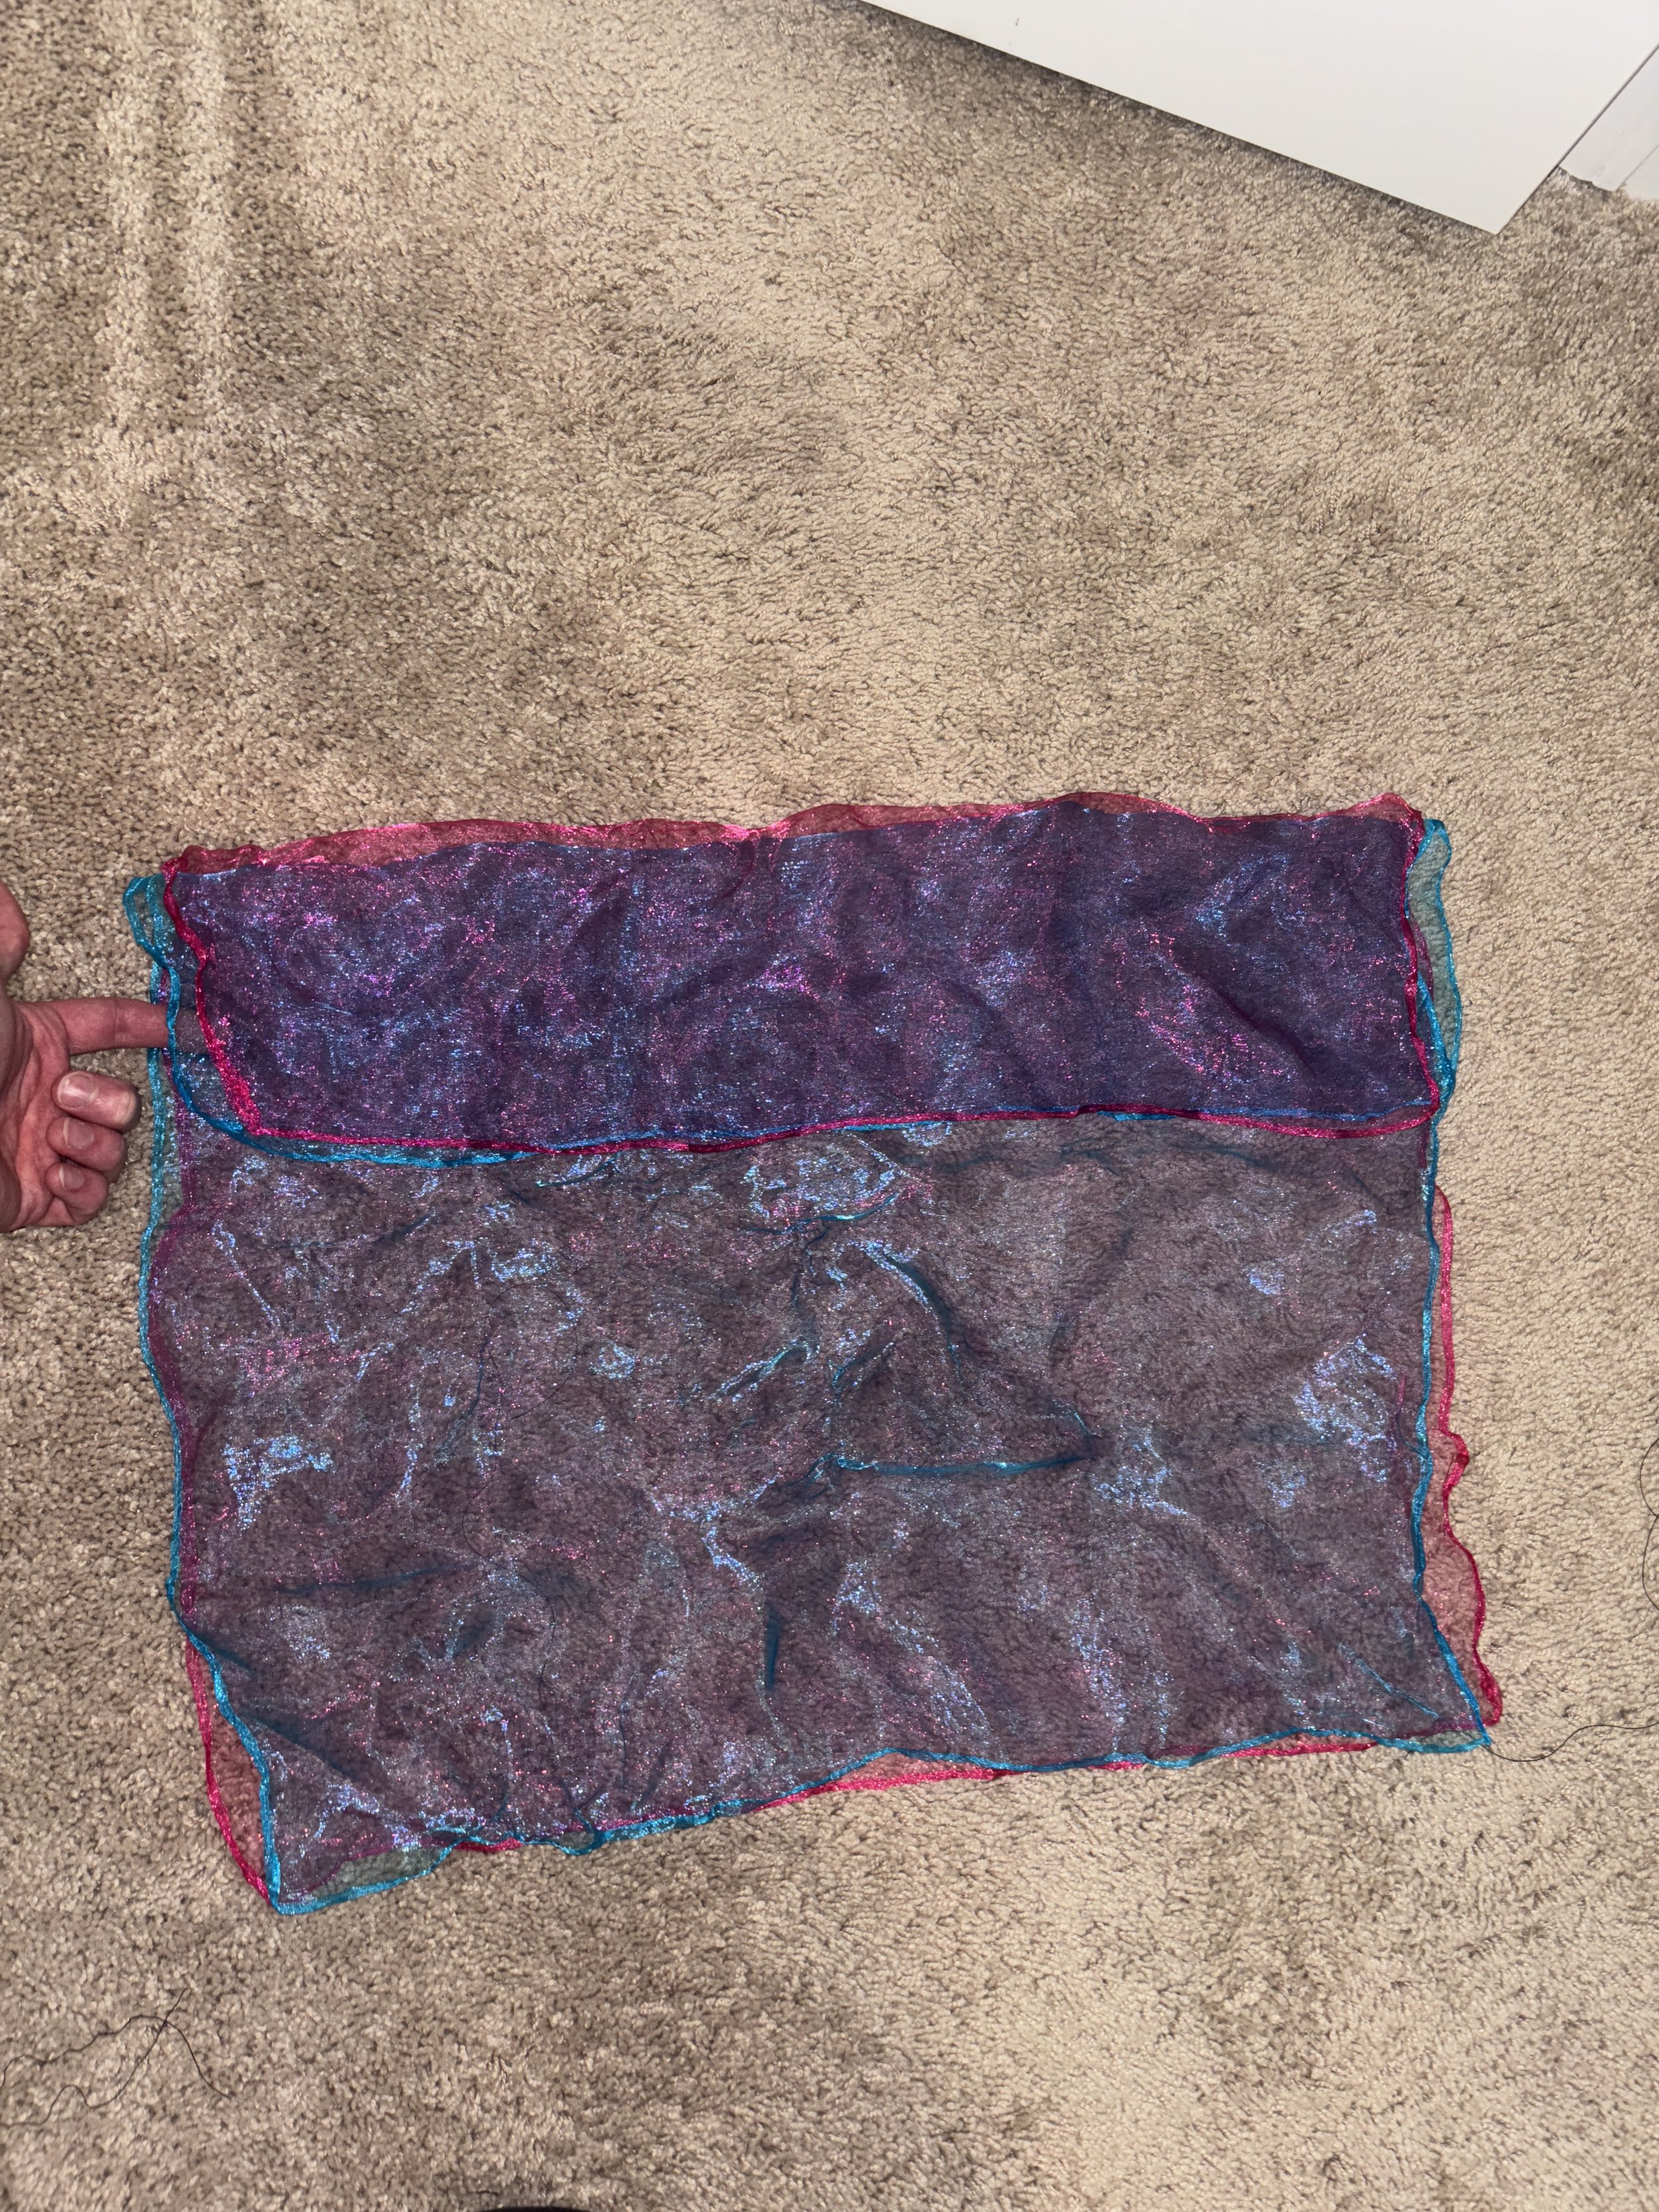
Step 4. fold the top 1/3 of both of them down towards the bottom of the scarf.
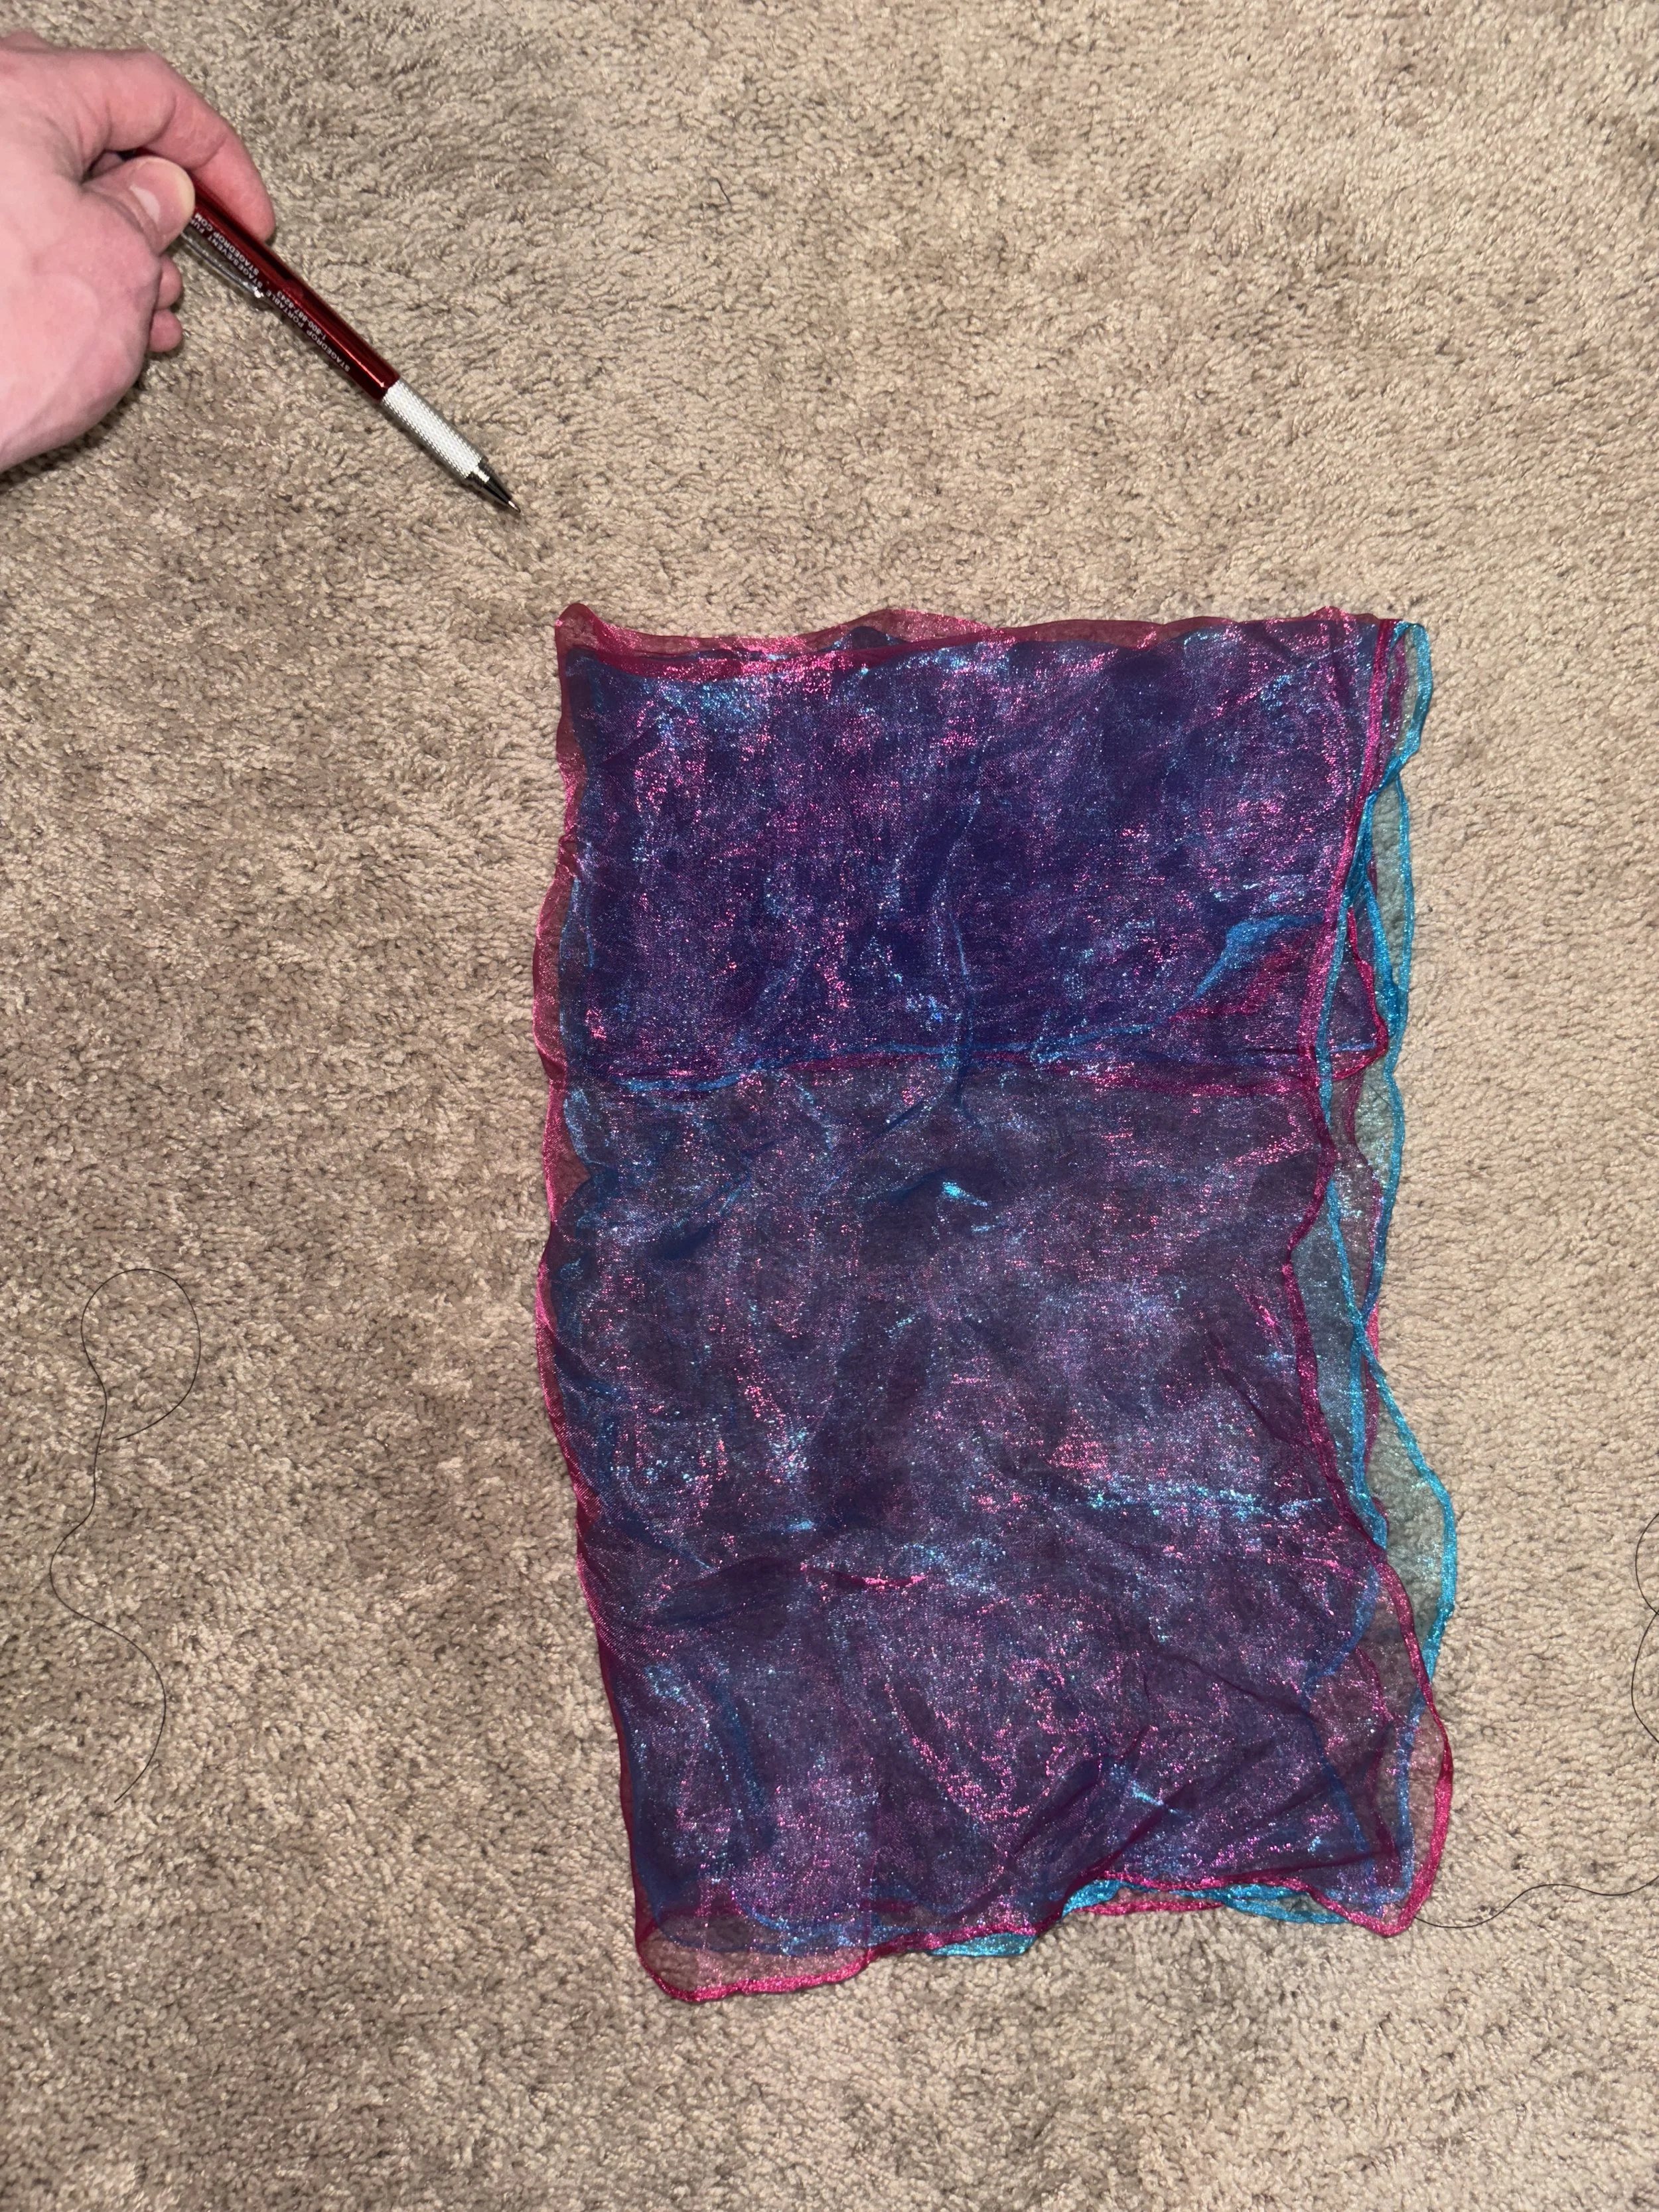
Step 5. Fold your scarves in half from left to right to find the “middle point”. Precision is important - make sure both scarves are folded for this middle point! The red pen with the silver tip in the image below is pointing at this “middle point”
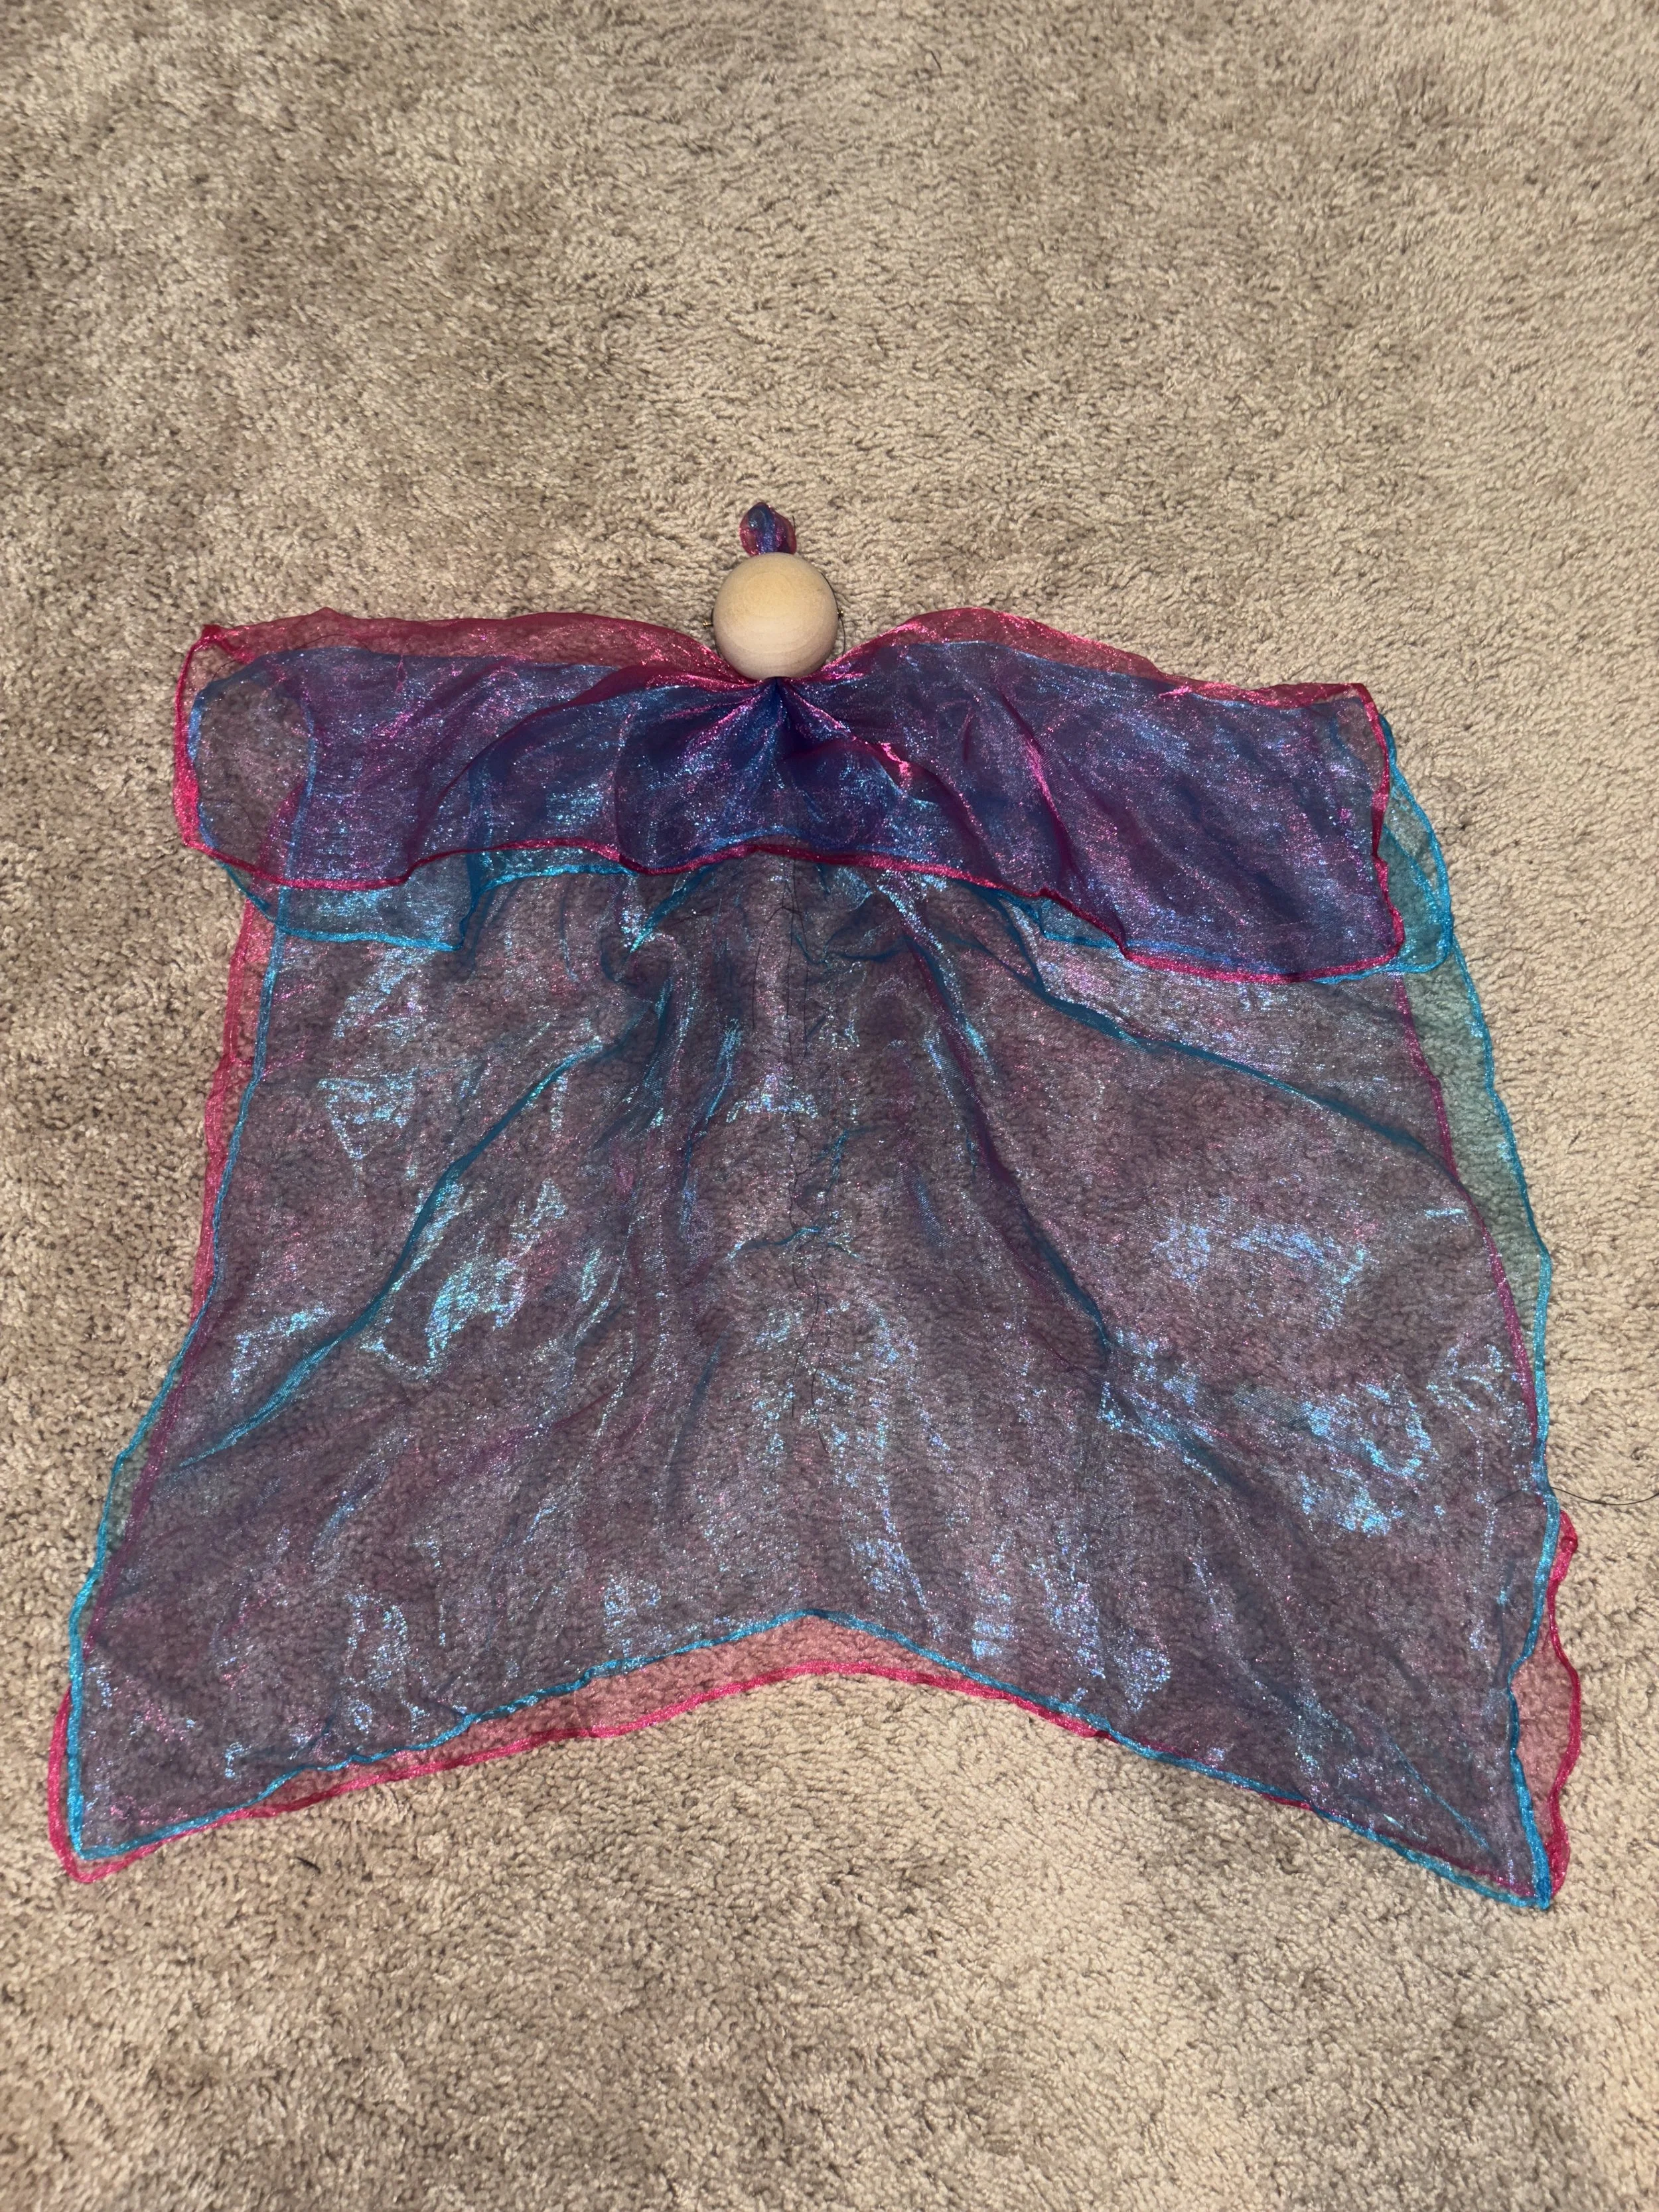
Step 6. Feed this middle point through the hole in head bead and pull it through. Think of the part that you pull through as the “hair” of your puppet. I usually keep it pretty short, maybe 3/4” or so. If you need to, gently use the dowel of your controller to help push the fabric through. The fabric is fragile. Use a piece of cork to plug the “neck” once you are happy with the length of your puppet’s hairdo. You can make small adjustments to your scarves and replug with the cork. Check the corners of your fabric to make sure they line up as close as possible. Make adjustments as needed. In the example below, we are looking at the front/face of the puppet.
Step 7. Guide the fabric into the the hand beads. Use the dowel from your controller to help push the fabric through. You are not simply pulling the corners of the scarves through the bead. You are pulling a portion of the flat, outer edge, of both scarves through. Please look at the image for reference. The silver tipped pen is pointing at the actual corner of the scarves. Notice how the corners of the scarves remain folded over, creating a sleeve, and you did not pull the corners of the scarves through the bead. There is a video at the bottom of this page that mentions it. You will probably need to adjust the length a few times. Use little bits of cork wedged into the bead to hold the fabric in place.

Step 8. Pull the corners through the foot beads. Yes, this time it really is just simply pulling the corners of the scarves through the bead. You will probably need to adjust the length a few times. Use little bits of cork wedged into the bead to hold the fabric in place. Hold your puppet up and try to make the “legs” equal in length.
Step 9. You can skip this step if you don’t plan on playing too much or too rough with your puppet. You can jam pieces of cork into the beads until you cannot fit anymore.
Sew the scarves into the beads. Thread your needle through the hole in the center of the bead, and the scarf, loop this several times - 3 or 4 times around, and then tie it off.

Step 10. Tie a length of string to the back of the head. That’s the nail between the two “ears”.
I have included some thread for you which should be enough. If you’re extremely tall, or want to perform up high off the ground, you may need more thread. This is a very lightweight puppet and I have found that “extra strong upholstery thread” works very well.
You will want to run the loose end of the string up to your controller, and through vertical hole in the dowel which is sticking out of the back of your controller. Once you have found a nice length, tie a knot (or several). This will “lock in” the height of your puppet! Make sure you are happy with the length of string before you tie it. The string should be long enough that, when holding the controller at a 90 degree angle from your body, the feet of the puppet are touching the ground.
Step 11. Tie a length of string to each ear nail. Make sure you have some extra length before you cut the string as we will be threading it up through the controller and winding it through the notches several times.
The left ear goes on the left side of the controller to the outer most hole. The 2 holes on either side of the dowel are for a short length of string by which to hang your puppet when not in use. Please see the video at the bottom of the page. Thread the string up, through the hole, and then around the notches.
Do the same with the right.
You want the head to be balanced, not cocked to one side like a confused dog. You will need to spend some time adjusting here, so carefully wind and unwind, play with the tension, until your puppet is “looking” dead ahead. I know it’s frustrating, but this is a relatively simple way to make adjustments.
You shouldn’t need to tie off the ear strings. You can if you want. You can also dip a toothpick in some wood glue and jam it into the hole we threaded the ear strings through. When the glue dies, break off the toothpick, and you have a very secure hold.
Step 12. You will need to string up the hands. Run one end of string through the hand bead, and tie a knot. Then take the loose end and go up, through the horizontal hole in the end of the dowel of your controller, and then down to the other hand bead. Thread the string through the other hand bead.
You will need to play with the tension here. Tie a simple knot (like the very first step in tying your shoelaces) and it should hold in place enough for you to adjust the length of string.
You will know the string for the hands is the right length when the puppet does the following:
You will lift the string with your hand, and that will pull up the puppets hand bead.
As the puppet’s hand bead reaches where the “mouth” would be, the leg bead will lift off the floor. Please see the video below. Once you are happy with the string length, tie many knots!
Step 13. Play with your new puppet. The key to making a puppet come to life is to spend time playing with it. Think of your scarf puppet like an instrument. The more you pick up and move it, the more you play, the more comfortable and second nature it becomes. Here are some tips to get you started.
Without pulling on any strings, hold the controller in your dominant hand. Tilt the controller in all directions. Do this slowly, don’t just shake the controller. Notice the movements of the puppet and how they relate to the movement in your hand. Can you make the head tilt left or right? Can you make the puppet look down? How about making both hands move at the same time.
With your non dominant hand, take the string that is tied to the puppets hand and lift UP. This should move the puppets hand on the same side move UP too.
What I mean is, if the controller is held in your right hand, take your left hand and hold the puppet’s hand strings between your thumb and forefinger. When you pull this string up, your puppet’s left hand should move up, too.
Same hand placement, but pull the string DOWN to the ground. This should lift your puppet’s other hand.
As you practice, experiment with a combination of pulling on the string and tilting the controller. What happens if you pull down on the hand string while also tilting the controller up at the same time?
String puppets are good at attempting tasks. Have it climb up on the kitchen table then jump off. Make it climb your leg, or crawl across the floor. Make it do the splits.
Put on some good dancing music and just have FUN with it. These puppets are simple, but when built well (which I know you did) and with some practice (I know you will :)) you will be able to amaze your friends with the uncanny lifelike movement.
Practice in front of a mirror if you can
When you are operating a string puppet, you are in control of making that puppet come to life. You have to be the one to give it weight, movement, thoughts, and energy. It is typically ideal for string puppets to remain “grounded” as if they have weight and are subject to gravity just like everything else. The real secret, as we now know, is that the puppet is animated by strings that we pluck and pull, and part of the “trick” to animating a puppet includes the ability to make it believably do nothing.
Think of the puppet like an instrument. It is not very likely that someone would be able to pick up a violin without ever having played one before, and be able to perform well right out of the gate. With practice and time, you can learn to expertly bring this simple collection of fabric and wood beads to life in a way that will amaze and amuse yourself and your friends for hours.